![]() What is involved in 3D design? Design tools and best practices depend on the field. For example, in chemistry, many molecular modeling software for visualizing molecules have the capability of designing accurate yet visually appealing models automatically. In other areas, designers make use of generalized tools like CAD (such as Fusion 360 and TinkerCAD) and drawing applications (such as SketchUp) or even recently developed language-based tools (such as OpenSCAD). This site has guides for both 3D design and 3D printing.
What is involved in 3D design? Design tools and best practices depend on the field. For example, in chemistry, many molecular modeling software for visualizing molecules have the capability of designing accurate yet visually appealing models automatically. In other areas, designers make use of generalized tools like CAD (such as Fusion 360 and TinkerCAD) and drawing applications (such as SketchUp) or even recently developed language-based tools (such as OpenSCAD). This site has guides for both 3D design and 3D printing.
Where are the 3D printers around campus? Without calling out individuals, there is department-wide printing in the expected disciplines such as Art and Art History, Theatre and Dance, and Global Studios. There is general academic 3D printing available in the Technology Learning Center (TLC) located on the 2nd floor of Boatwright Memorial Library. Lastly, there is 3D printing in Information Services to support faculty who need exotic or experimental 3D printing support and consultation (please see the contact page).
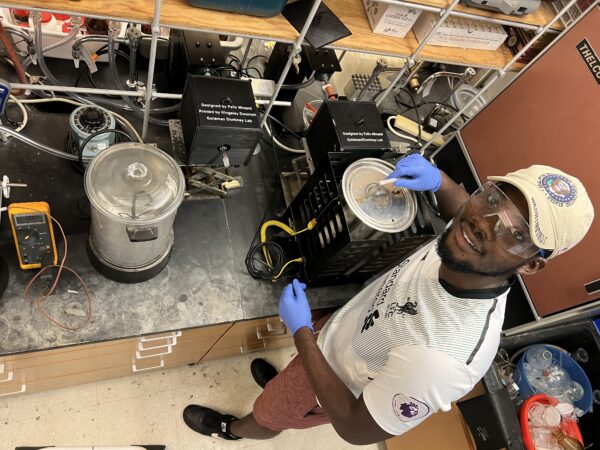
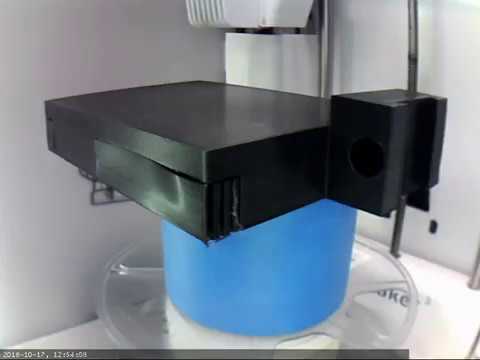
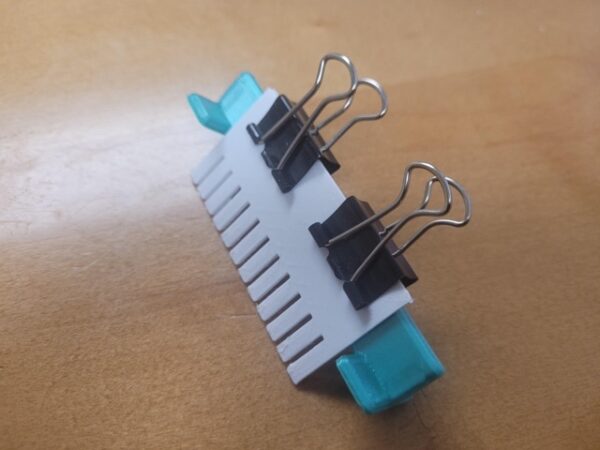
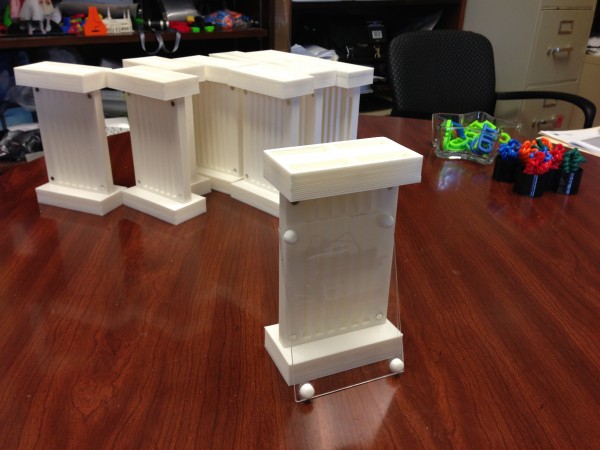
Showcase of Academic Projects