![]() OpenSCAD (aka Open Source Computer-Aided Design) is known as the “The Programmers Solid 3D CAD Modeller.” In addition to being free, it has two significant features:
OpenSCAD (aka Open Source Computer-Aided Design) is known as the “The Programmers Solid 3D CAD Modeller.” In addition to being free, it has two significant features:
- Unlike many 3D sketching and CAD tools, OpenSCAD basically guarantees that shapes created by using it are at least theoretically printable (see 3D Design Basics for more information).
- OpenSCAD allows for both parameterization and repeating loops which make for quicker design progress (see both sections below).
Getting Started
OpenSCAD is available for Windows, MacOS, and Linux from https://openscad.org/ .
There is a wealth of tutorials available such as OpenSCAD tutorials on Youtube and LinkedIn Learning (if you are part of the UR community or otherwise have access to LinkedIn Learning).
OpenSCAD also maintains a good documentation section , and many OpenSCADers have shared that people with coding skills and geometry knowledge can be successful by going straight to the Cheat Sheet .

The interface has 3 areas: (1) the coding section on the left, (2) the rendering section in the upper-right, and (3) the error log in the lower-right. The figure to the right shows the briefest example of what OpenSCAD can do, and the sample file is available for download (within a zip file). The sample shows that you can complete boolean operations in space such as the union and difference of various shapes and that you can create parameters such as the height of the hole and cube.
Once the coding is finished, and the final design is ready to print, one can export it to an STL file for 3D printing.
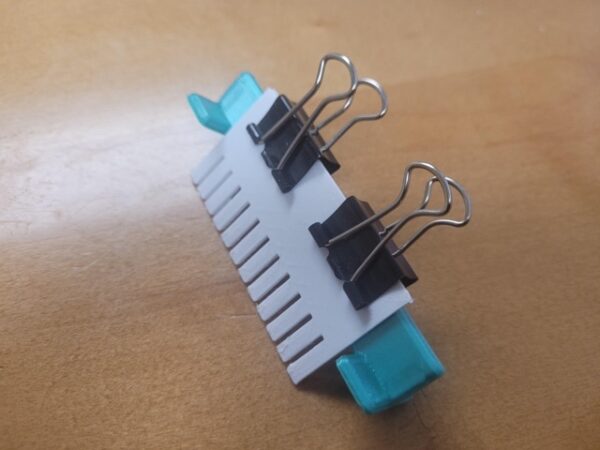
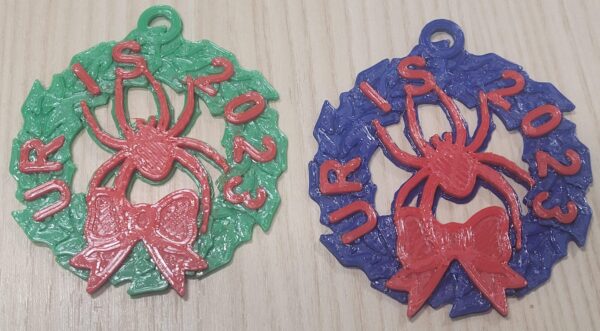
Here are some examples of UR IS 3D printing projects that used OpenSCAD: