Audacity
Audacity is a great tool for recording and editing audio. We recommend using Audacity rather than editing and recording in iMovie.
- Download the software here.

You can record audio using your own computer. One way to get better audio is to use headphones that take audio as in put (ex. Apple headphones) or you can use a booth in the TLC.

Things to consider when recording:
- Speak slowly.
- When restarting, wait 2-3 seconds and you can use the audio wavelength to know where to cut.
- Try to use a device other than an internal-mic. TLC has headsets you can use. Many headphones actually can record audio.
If you want to import audio, go to “File”-> “Import” -> “Audio”. Supported file formats included .wav and .mp3. Some audio comes in protected file formats and may not upload.
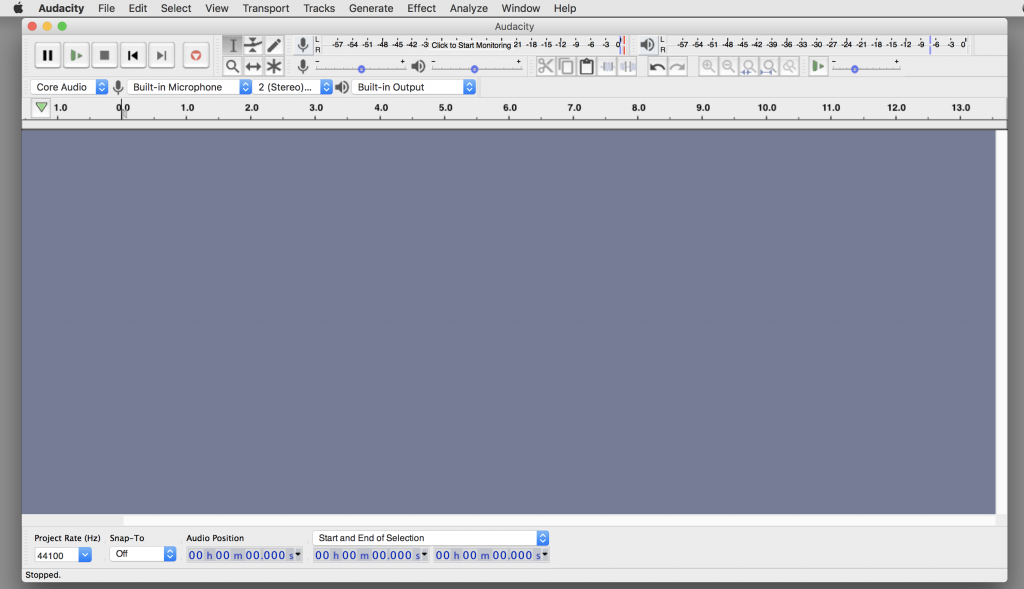
Now you have a track!
- Stereo: Different sounds come out of left vs right speaker. You will see two tracks.
- Mono: Same sound of out both speakers
You can then layer tracks. When you export, it will collapse all of the tracks into one file.
- If you want to zoom in or zoom out on the tracks, there are two microscopes that will allow you to zoom in and zoom out.
Things to be watch for:
- Make sure the input is the proper one. For example, is your input the “Built-in Microphone” or another option?
- Check your option for Mono vs Stereo Recording Channels.
- You want the wave form to visually be between -.75 and .75.
- If the audio wave is hitting 1 or -1, you’ve spiked the audio and it’s getting clipped.
- You can play around with the microphone on the Audacity Mixer Toolbar to adjust the sensitivity of your mic.
Once you have audio, you can edit!
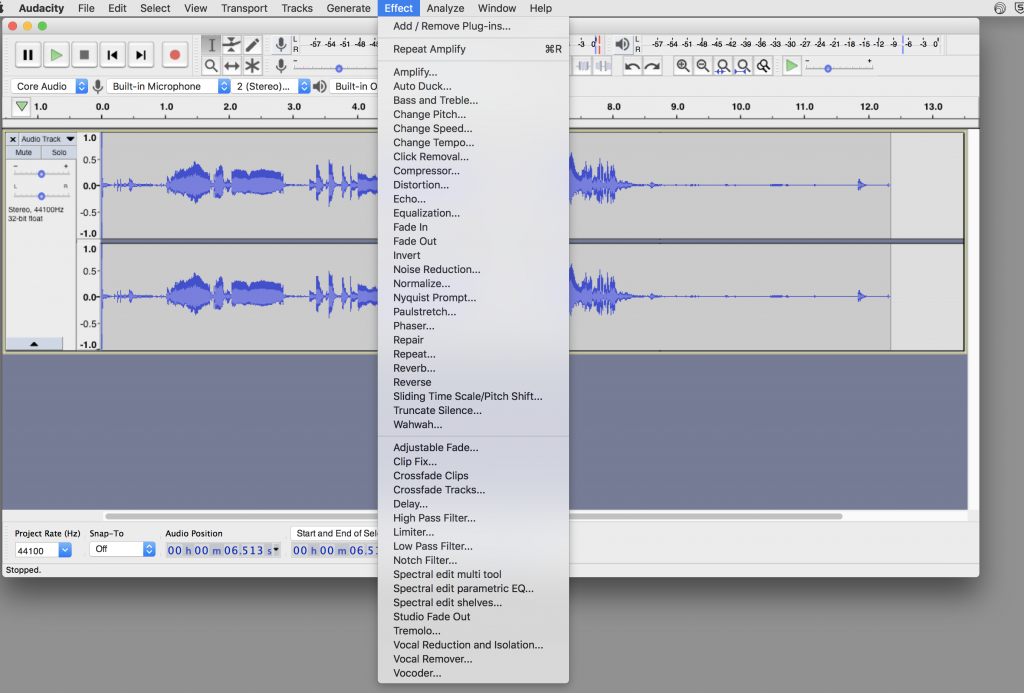
A great place to play around is the “Effect” menu. When testing your audio, make sure your computer volume is around 50%. Some options that will probably be the most helpful are:
- Noise Reduction
- Fade In / Fade Out
- Change Speed
- Normalize: It helps make the level even across the audio track. It will help with variations when the audio gets quiet and then loud (assuming that you don’t want these variations).
- Amplify (particularly if audio is pretty quiet): Negative numbers will reduce the waves and positive numbers will increase the waves.
How to save?
Create a folder on your desktop to maintain your files. This will (1) help keep your audio organized and (2) zip the file and save it to Box so that you can transport the audio across computers. (Note: Audacity won’t let you save an empty project, so you’ll need at least a bit of audio to say the project in the folder.)
The default will be .aup (audacity project). It creates two pieces .aup and a folder. You need to keep both connected in order for them to work. This is great if you want to keep editing.
For most though, you’ll just need the audio and won’t be looking to edit. Go go to File -> Export -> select type. We recommend using “WAV” and 32-bit because it is the most universal format. (Note: Mp3 reduces your sound file.) You can add metadata if you’d like, but this is unnecessary for our purposes.
When in doubt, save!