Caramelization is what happens when any sugar is heated to the point that the molecules undergo chemical reactions with oxygen in the air and with each other – the molecules either break apart into smaller molecules, or combine with one another to make larger molecules. The result is a very complex, brown-colored mixture that we call caramel. Any sugar can caramelize, and the temperature necessary for caramelization is dependent on the chemical structure of the starting sugar. Sucrose (i.e. table sugar) is the most common sugar that is used to make caramel. Caramelization of sucrose produces large brown molecules (caramelan, caramelen, and caramelin) and small, volatile aroma molecules such as furan, maltol, ethyl acetate and diacetyl
The large brown molecules (caramelin, caramelen and caramelan) are what give caramel its color, its viscosity and its stickiness. The aroma molecules give caramel its flavor. The caramelization reactions require intense heat (340˚F/170˚C), and too much heat for too long will produce very dark, sticky and bitter tasting caramel, rather than a light brown, sweet and complex tasting syrupy solid. Caramelized sugar is a hard, brittle solid, so how then will we make a soft, chewy candy?
When making caramel candies or caramel sauce, we add cream and butter to the caramelized sugar when it is still very hot (> 300 degrees). Cream contributes milk solids and milk sugars and proteins along with some water and fat. The water keeps the caramel from setting too firmly, and the milk sugars and proteins contribute to the browning through Maillard reactions.
The Maillard reactions are responsible for the browning of many foods including meat, the brown color on a loaf of bread, coffee beans and “caramelized” onions.Maillard reactions take place between sugars like glucose and amino acids that are free or part of proteins. The Maillard reactions also require intense heat (250˚F/120˚C) – but not quite as hot as the caramel forming reactions above. When we add milk and butter to the hot, hot sugar – the proteins (remember, proteins are made of amino acids) in the milk and butter undergo Maillard reactions with the sugar to generate additional flavors.
Soft Caramel Candies
Ingredients
1/2 cup heavy cream
2 tablespoons unsalted butter
1/4 teaspoon salt
3/4 cup white granulated sugar
2 Tbsp corn syrup
2 Tbsp water
1/4 teaspoon vanilla extract
Materials
A small rimmed, heat safe pan that is ~ 6 x 9 inches
Parchment paper
2-quart saucepan – your saucepan must be VERY CLEAN. Sour with an SOS pad if your pan contains burned residue.
Instant-read kitchen thermometer
rubber spoonula/spatula
Pastry brush
Whisk
Wax paper
READ ALL THE DIRECTIONS THROUGH BEFORE BEGINNING. THE CARAMEL WILL BURN (and you will set off the smoke alarm) IF YOU ARE NOT PREPARED TO PERFORM THE NEXT STEP.
THE SUGAR SYRUP IS EXTREMELY HOT!!!! PAY ATTENTION!!!
TIE BACK LONG HAIR, AND READ ALL INSTRUCTIONS.
Instructions
When you see the boldface blue font, document that step with a photo on your blog
BEFORE BEGINNING, MAKE SURE YOU HAVE A BOWL OF ICE-WATER NEAR YOUR WORKSTATION IN CASE YOU GET HOT SUGAR ON YOUR SKIN. Do not put a sugar-burned finger in your mouth. The heat from the sugar will burn your mouth as well. Place a burned finger immediately into ice-water.
1. Prepare the caramel mold. Cut parchment paper using scissors so it is exactly the length of your ~6 x 9 in baking sheet. Leave excess paper hanging over only two edges as shown in the image below. Spray the parchment and the sides of the pan with nonstick cooking spray. Wipe away excess with a clean paper towel.

Line a cookie sheet with parchment so that excess paper hangs over the edges.
2. Melt the butter in the cream. Over medium heat, warm the cream, butter, and salt in the 2-quart saucepan until the butter melts. Remove from heat, and carefully pour the cream/butter/salt mixture into a glass measuring cup. Set aside. Wipe out your saucepan.
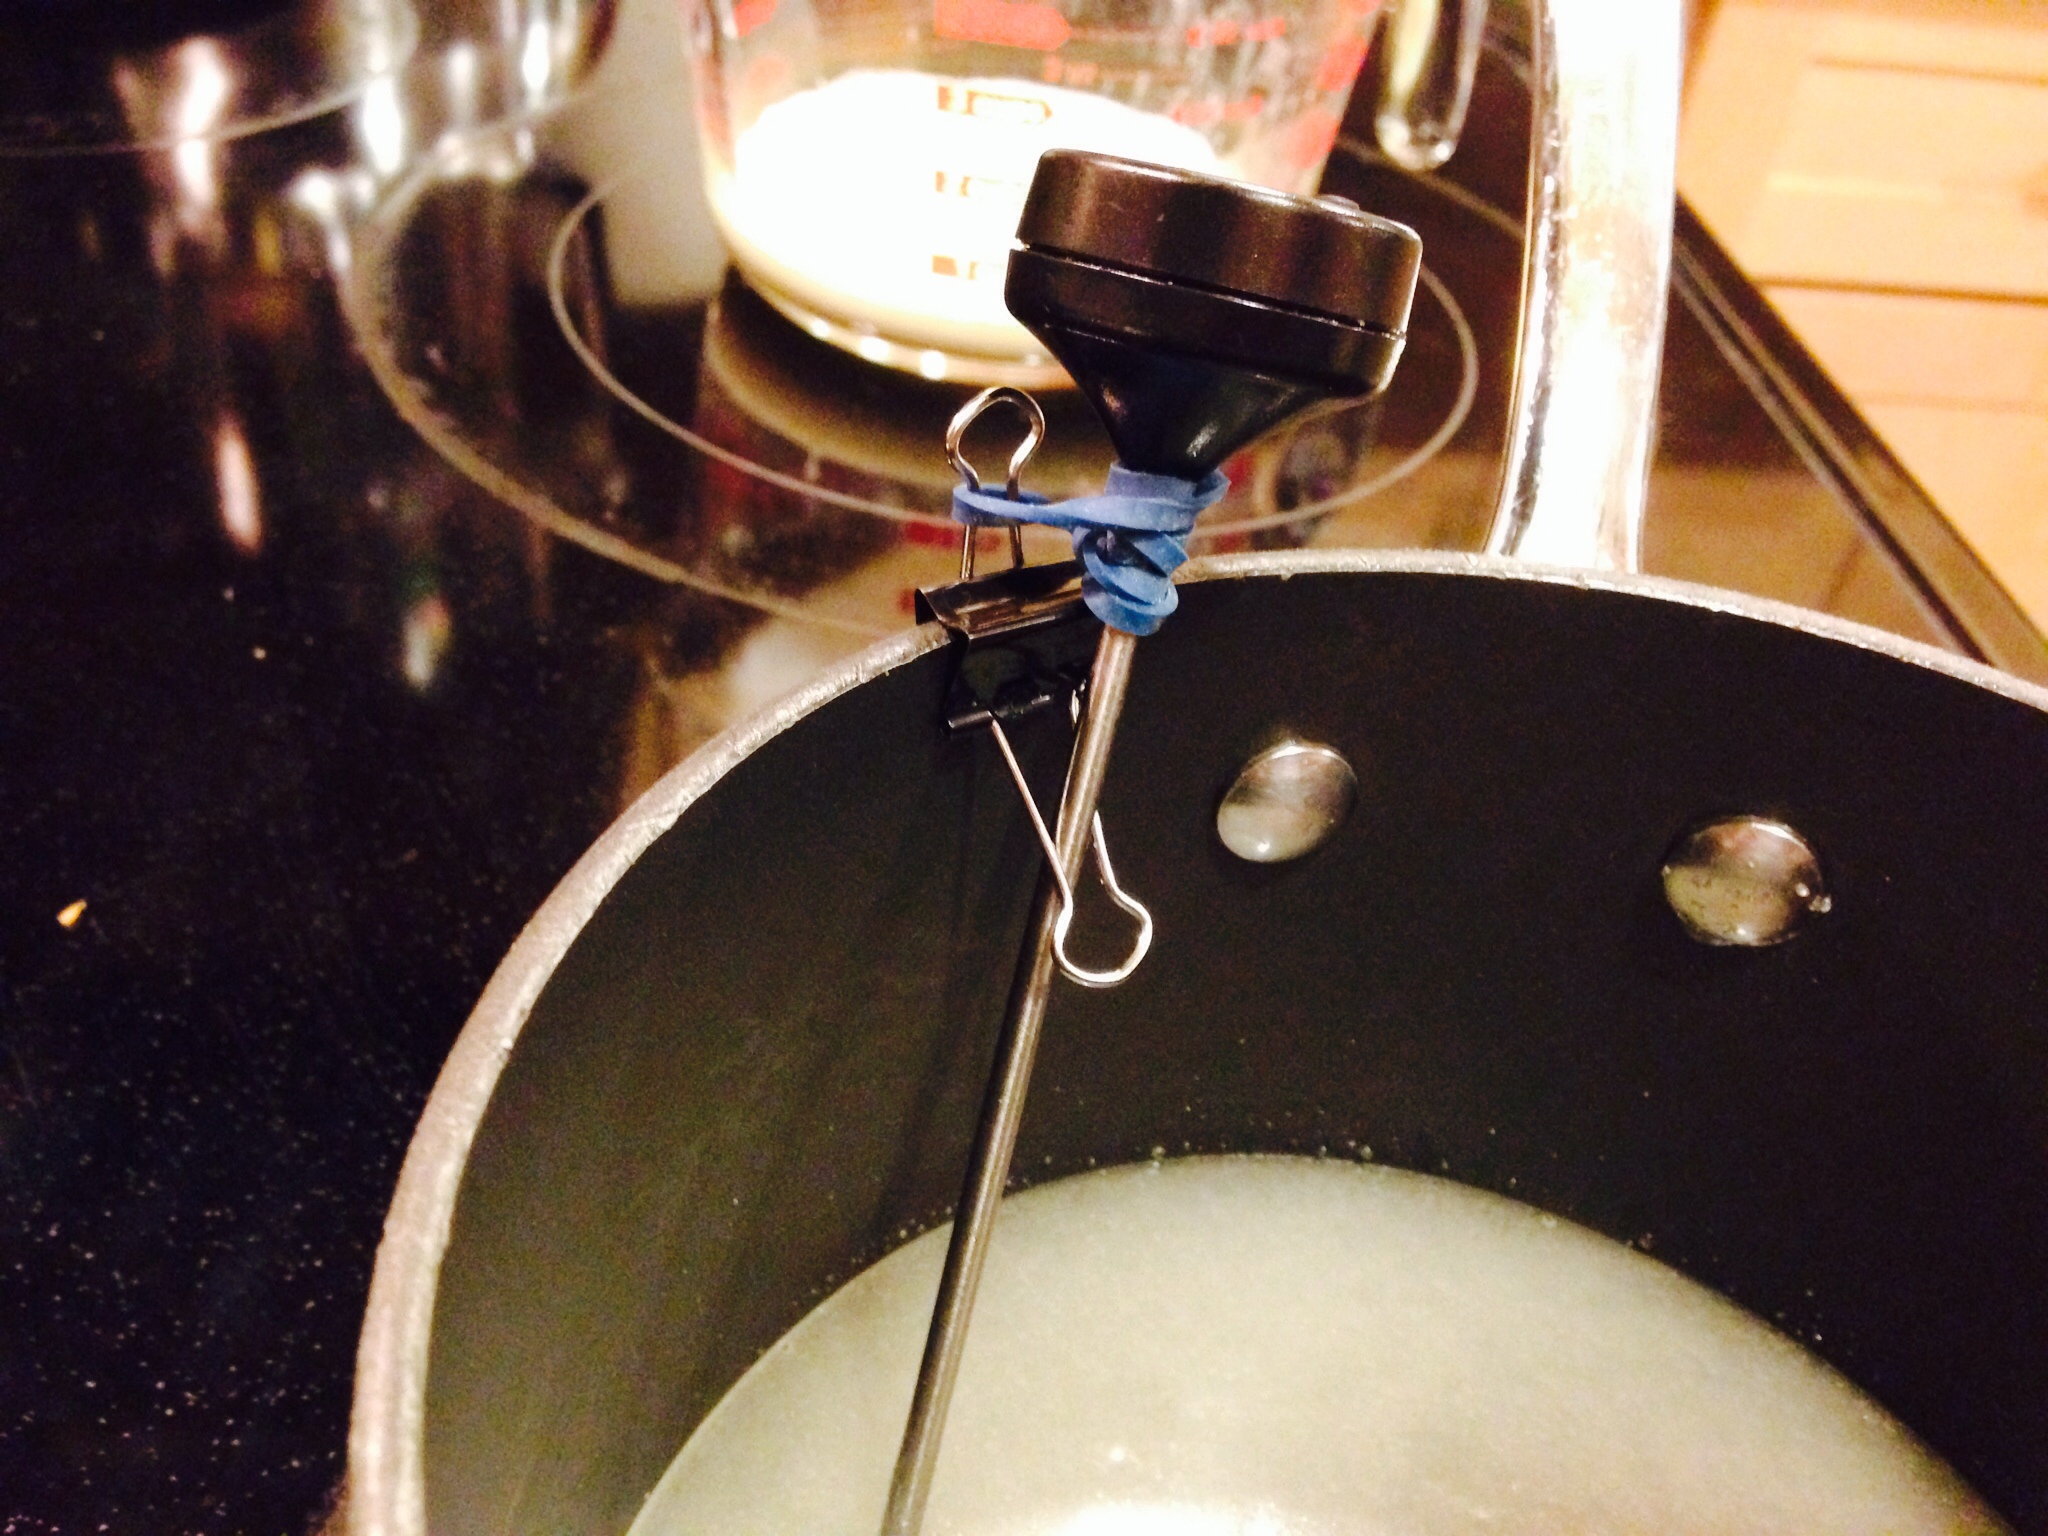
3. Combine the sugar, corn syrup, and water. In your 2-quart saucepan, combine the sugar, corn syrup, and water. Corn syrup is very thick and difficult to pour. Use a butter knife to help you pour, then scrape the corn syrup directly into the pot. Stir until the sugar is evenly moistened and you form a thick grainy paste. Wipe down the sides of the pan with a damp pastry brush so there are no sugar crystals above the surface of the sugar mixture. Spray a paper towel with non-stick cooking spray and wipe down the inside of the pot – above the sugar. Clip the instant-read thermometer to the side of the pan so that the heat sensor is immersed in the sugar. Do not stir the sugar after this point.
Note: Although the sugar will barely cover the bottom of the pan, the extra space is necessary because the sugar will bubble up and triple in size when you add the cream.
4. Cook the sugar syrup. Place the pot with the sugar mixture over medium to medium-high heat. Let the sugar syrup come to a boil without stirring. At first, you will see small bubbles around the edge of the pan, which will eventually move inward. Around 250°F, the sugar syrup will turn transparent and boil rapidly. You may need to tilt the pan to cover the tip of the thermometer for an accurate reading. Around 320°F, the syrup will darken slightly and smell caramel-like; true caramelization chemistry starts occurring at 320°F. Move on to the next step when the caramel is a few shades lighter than your goal color, as it will continue to cook even after you remove the heat. The darker the caramel, the more complex the flavor and the less sweet. Do not let the caramel get above 350 degrees or it will turn bitter. Use extreme caution!! The pot and sugar will be VERY HOT.
NOTE: This is the step that you will adjust to get a light caramel and a dark caramel. For a light caramel, only let the reaction proceed for a short time. For a darker caramel, let the reaction go longer.
Note: If your instant-read thermometer isn’t quite submerged into the sugar, you may need to tilt the pan to get an accurate reading. Simply tilt the pan by the handle until the thermometer is submerged a few inches in the sugar syrup. If the syrup hasn’t reached 250°, wipe down the sides with a pastry brush again. If it has, there’s no need.
 .
. 

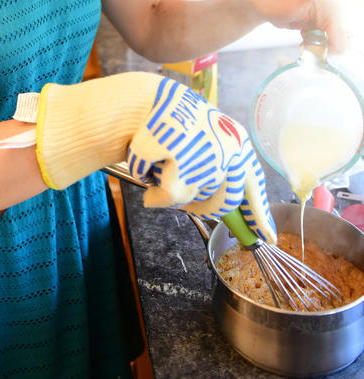
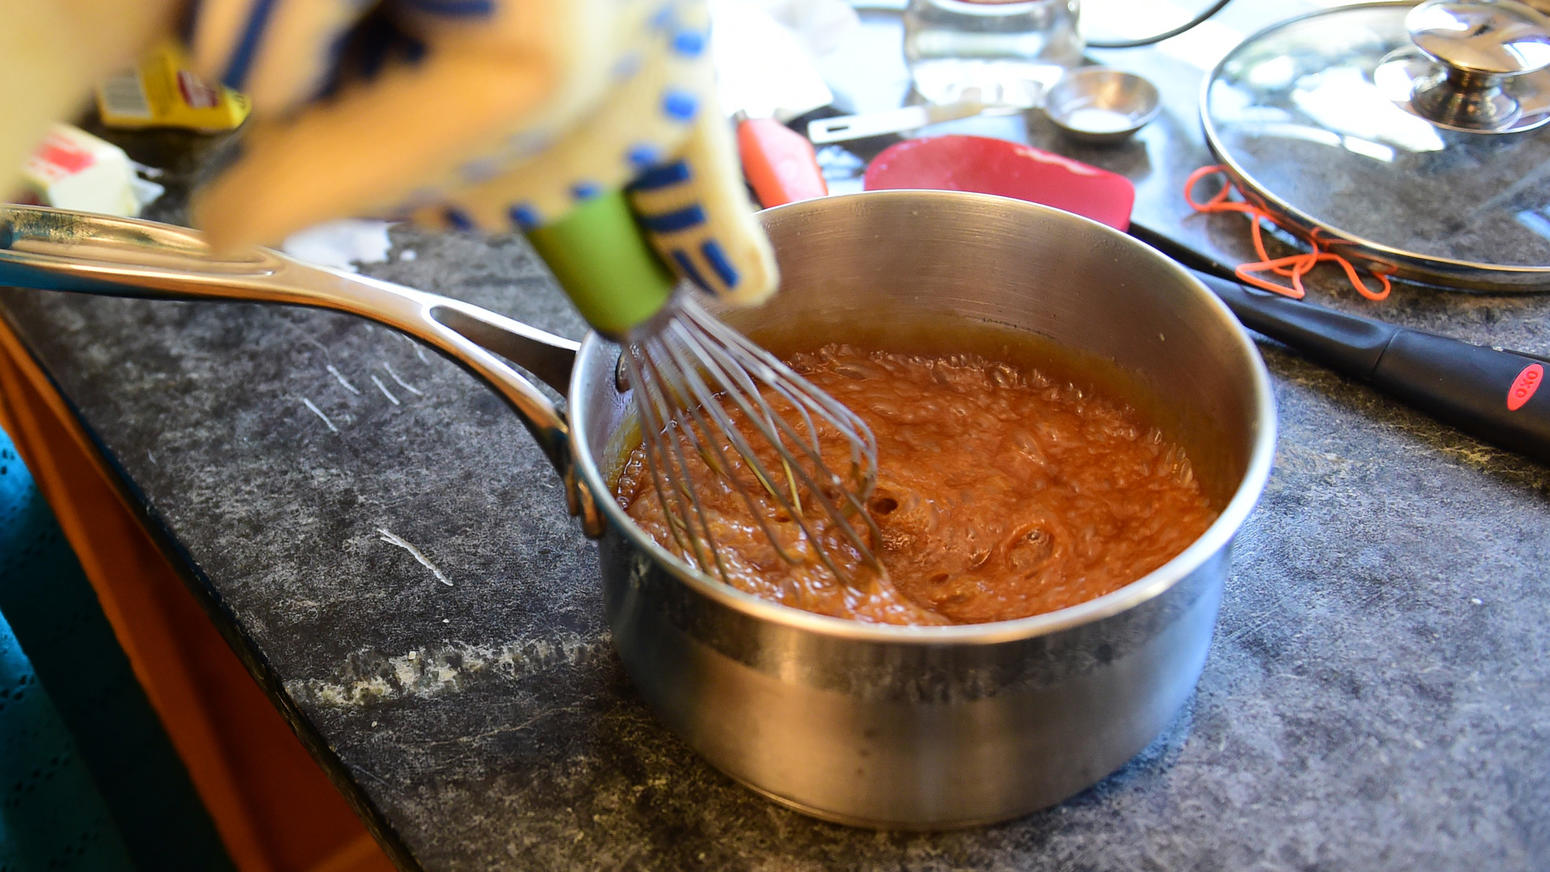
5. Whisk in the HOT cream and butter. If your cream and butter are not hot – then zap it in the microwave. CAREFULLY remove the pot from the heat and gently place it on the counter. SLOWLY pour the hot cream and butter mixture into the sugar syrup while whisking the sugar syrup smoothly but quickly and thoroughly. The sugar syrup will bubble up and triple in size. Hot steam will be released. You can cover your whisking hand with an oven safe glove/mitt as a precaution. Stop whisking once all the milk and butter mixture has been added.
 .
. 
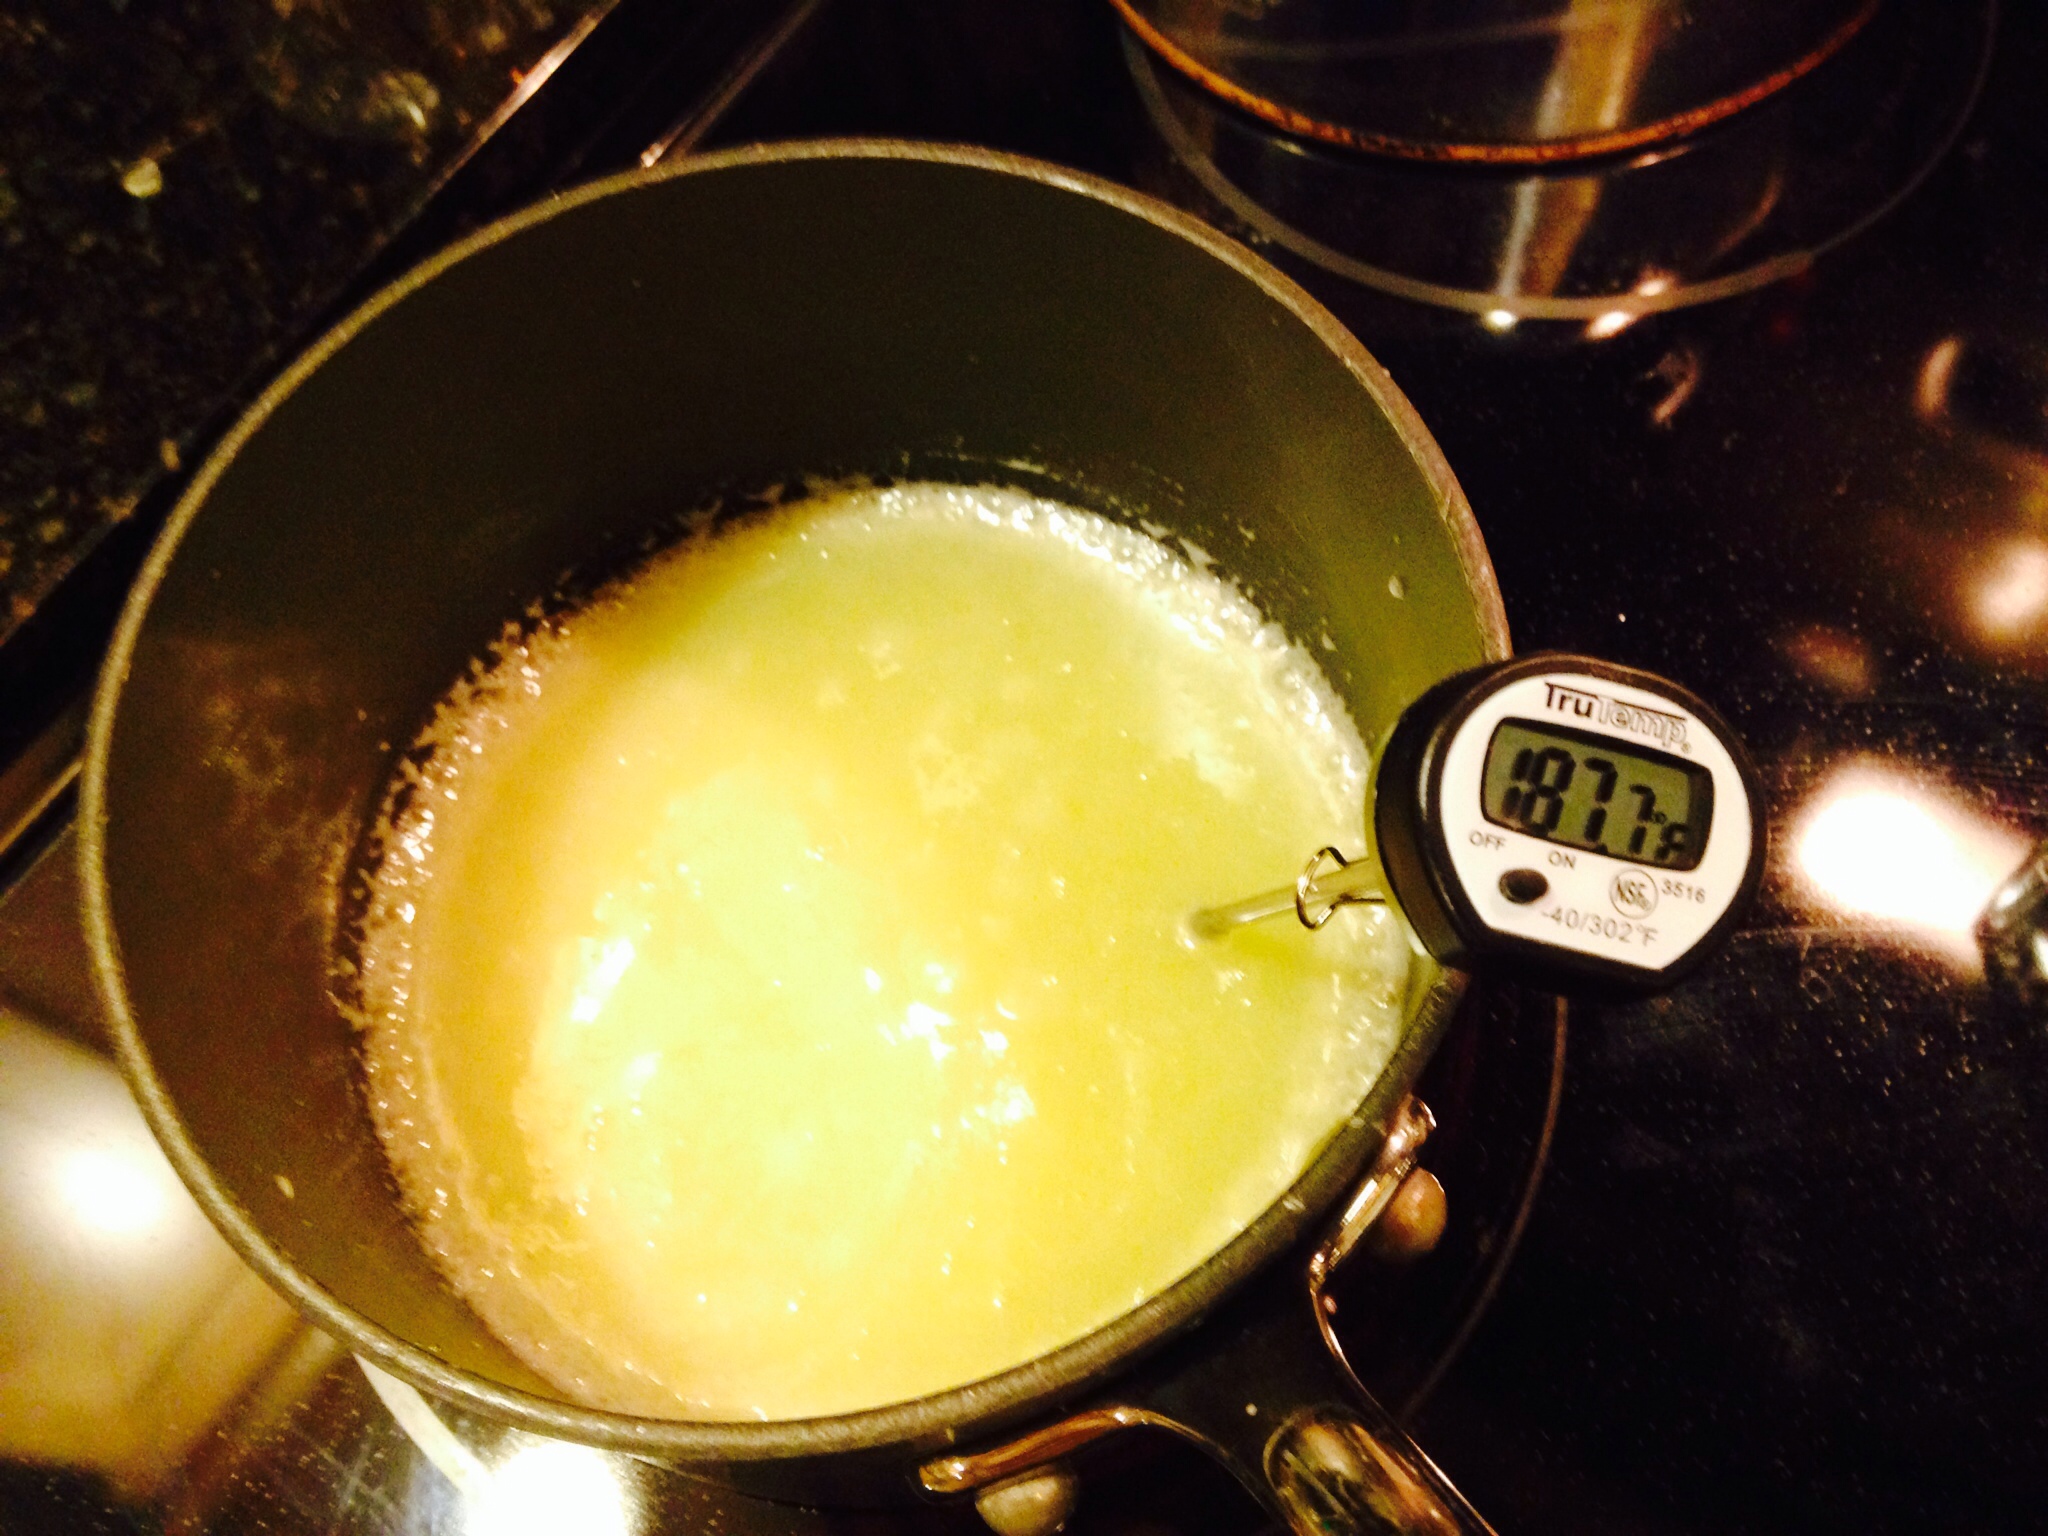
6. Heat the caramel to 245°F – 250°F. Return the pan to medium to medium-high heat. Let the caramel come to a boil without stirring. Remove from heat when the caramel reaches 245°F to 250°F. This reheating promotes Maillard reactions between the sugar and the proteins in the cream and butter. Maillard reactions happen above 240°F or so…
7. Whisk in the vanilla. Quickly whisk the vanilla into the caramel.
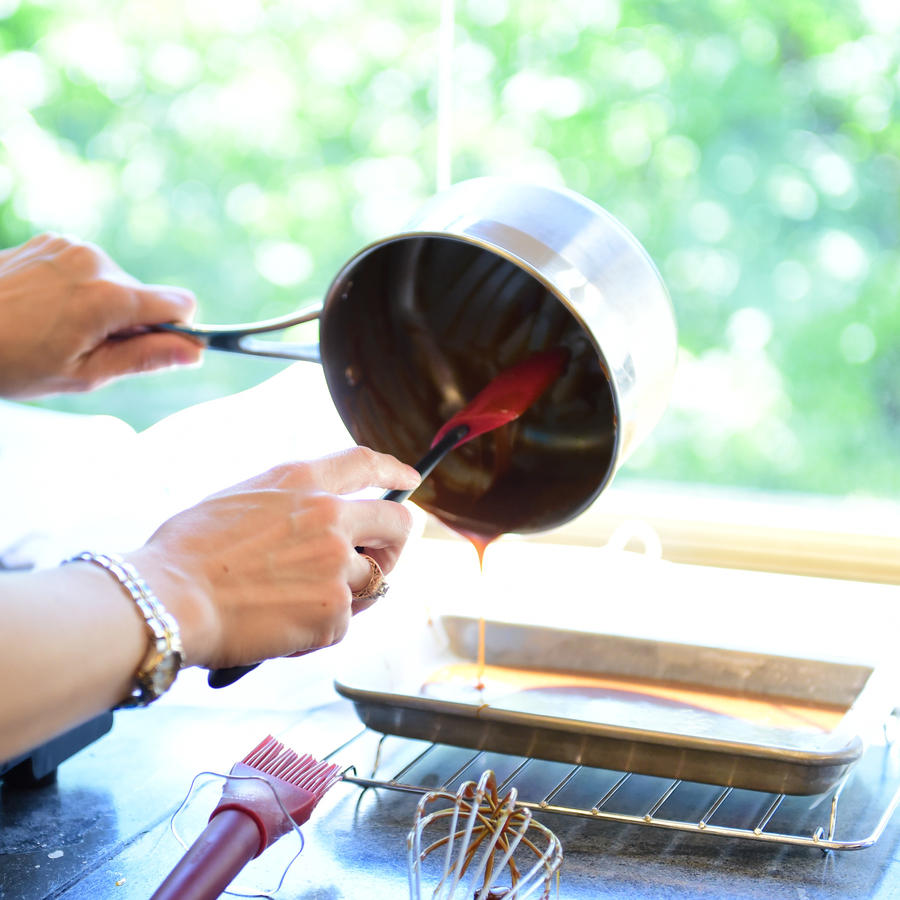
8. Pour the caramels into the mold. Immediately pour the caramels into the parchment lined baking sheet. Do not scrape the pan (there are sometimes hard burnt bits on the bottom).Tap the pan against the counter a few times to help air bubbles work their way out. Do NOT touch the molten caramel – it is VERY HOT and will instantly burn your skin.
9. Let the caramels set. Set the caramels somewhere out of the way to set, for at least two hours or (ideally) overnight. Once the caramels have cooled to room temperature, you can cover the pan.
10. Cut the caramels. When the caramels have set, lift them out of the pan by the parchment paper flaps and onto a cutting board. Cut the caramels into candies with a very sharp knife. If the caramels stick to your knife, spray your knife with nonstick cooking spray.
11. Wrap the caramels in wax paper. Cut squares of wax paper a little longer than your caramels. Wrap each caramel in wax paper and twist the ends closed. Caramels will keep at room temperature for about two weeks or in the fridge for longer! I like to keep mine in the fridge and then pull them out a little while before I want to eat them…
Repeat the process, but change the time of the caramelization reaction to get a different colored caramel.
On your Blog
Take photos
- Of your two caramels (light and dark) side by side, close-up.
Post a video in which you…
- Taste test the light and dark caramels: The darker caramel is supposed to be more complex and bitter, while the lighter caramel is sweeter and less complex. How do your caramels compare?
- Describe what went really well during your caramel making
- What would you change if you repeated this process again
Answer the following questions on your blog
- Why is the darker caramel, less sweet?
- What did the additional heating to 250 degrees (after adding the cream and butter) accomplish?
