
Paneer and Queso Blanco
Paneer and Queso Blanco are “fresh” cheeses. They can be made and eaten in the same day – no aging or ripening required. Paneer comes from India and Queso Blanco from Mexico, but the two cheeses differ only in the acid utilized to make the curd. Both of them are made fresh in their native countries and usually eaten the same day. Both form curd with acid only (no rennet is used), and both are pressed to remove excess whey and firm them up. They do not melt easily and are often fried. Unlike mozzarella, they are not stretched.
Ingredients & Equipment
- 1 Gallon of WHOLE milk (Do not use skim or 2%, Do not use Ultra high temperature pasteurized milk, or UHT). Use 1/2 gallon in each recipe.
- Cheesecloth
- Salt
- Stainless Steel Pot
- weights (like a 32 oz can of tomatoes or a mason jar filled with water)
- bowls
- cookie rack (to hold up the draining pressed cheese)
- 1/3 cup of white vinegar for Queso Blanco
- 1/4 cup of fresh lemon juice for Paneer (get lemons and squeeze them)
When you see text in boldface blue font. You should document that step with a photo on your blog
Paneer
Instructions
- Heat the milk: Pour 1/2 gallon milk into the saucepan and set over medium heat. Bring the milk to a bare simmer — just below the boil at around 190-200°F. Stir the milk frequently, scraping the bottom of the pot to make sure the milk doesn’t scald. When ready, the milk will look foamy and steamy.
- Add the lemon juice: Remove the milk from heat and stir in the lemon juice. The milk should begin to curdle immediately, but it’s ok if it doesn’t.
- Let the milk stand for 10 minutes: Cover the milk and let stand for 10 minutes to give the acid time to completely separate the curds and whey. At the end of 10 minutes, the curds should be completely separated and the liquid should look yellow and watery. If the milk hasn’t separated, try adding another tablespoon of acid. If it still won’t separate, check your milk and be sure you are using whole milk that is NOT UHT milk; this kind of milk won’t separate.
- Strain the curds: Set a strainer or colander over a mixing bowl and line it with cheesecloth, a nut bag, or other straining cloth. Carefully scoop or pour the curds into the strainer, letting the whey collect in the bowl beneath.
- Squeeze the curds: Gather the cheesecloth in your hand and gently squeeze to remove the excess whey.
- Salt the curds: Open the cheesecloth and sprinkle 1/4 teaspoon of salt over the curds. Stir gently and taste. Add more salt if desired.
- Press the curds: Transfer the curds (still in the cheesecloth) to a large dinner plate. Shape them into a rough square and then fold the cheesecloth tightly around the curds to form a neat rectangular package. Set a second plate on top of the package and weigh it down. Press for at least 15 minutes or up to 1 hour.
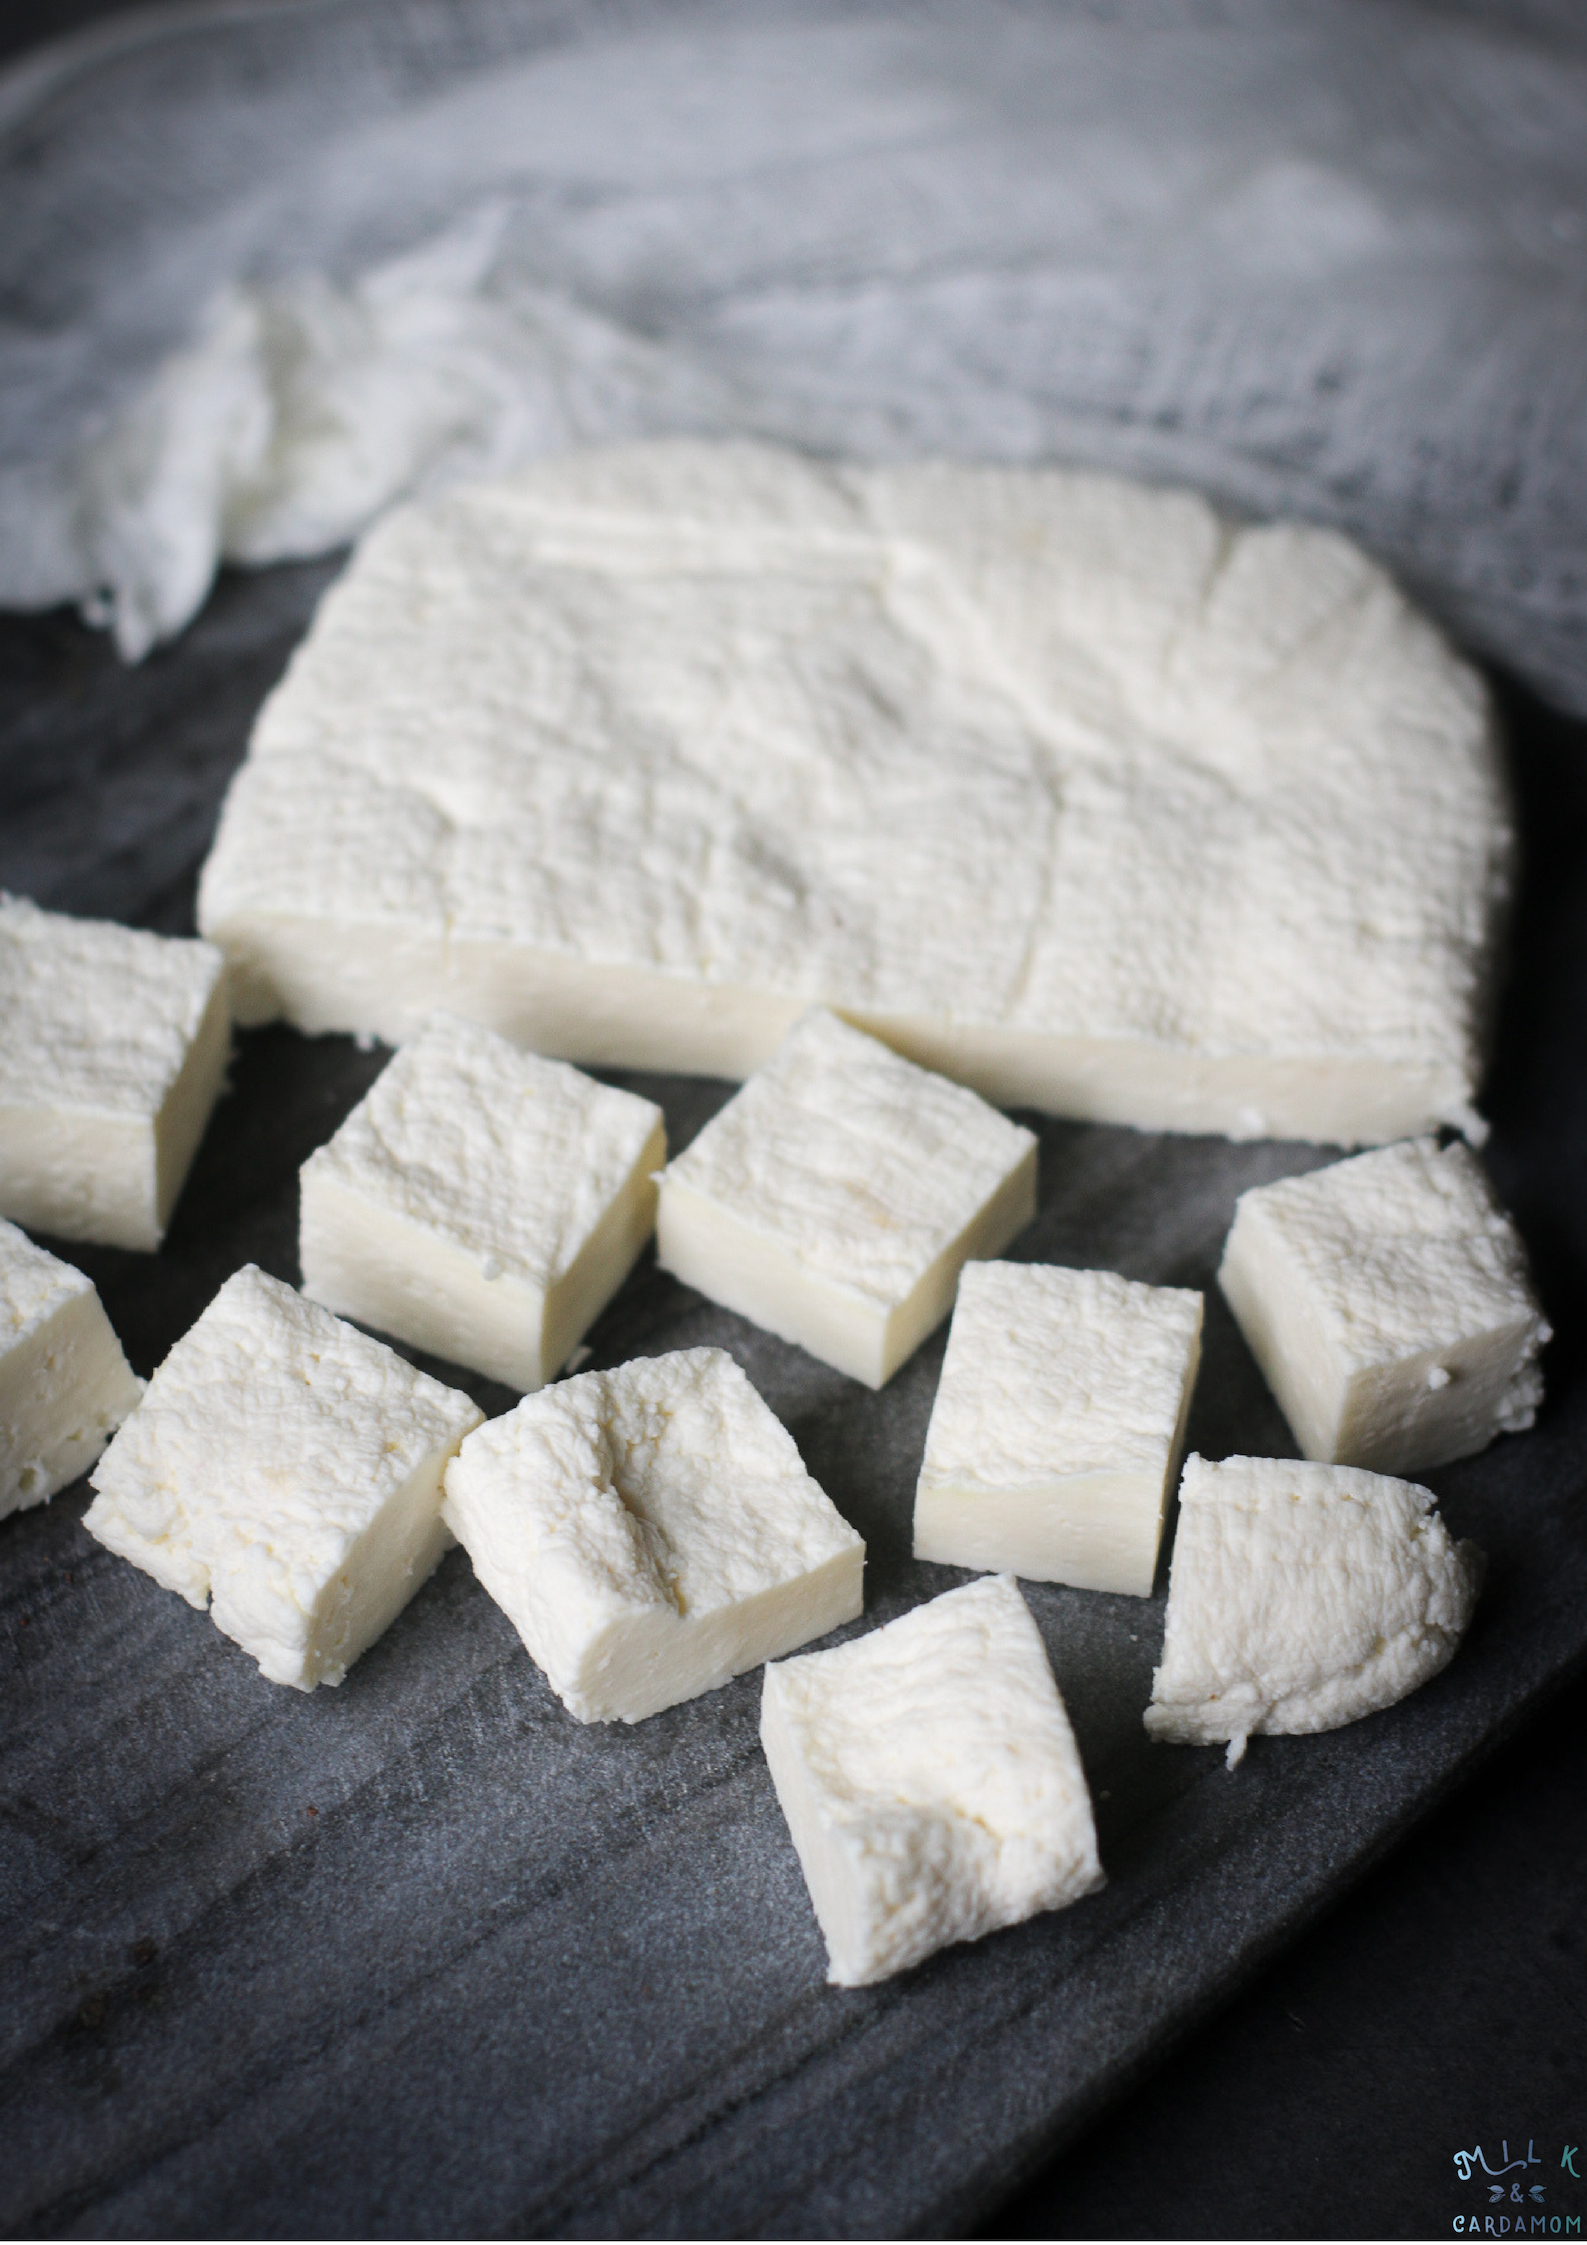
- Use or refrigerate the paneer: Once pressed, your paneer is finished and ready to use. You can use it immediately or refrigerate for up to two days. Refrigerated paneer will be firmer and less likely to crumble..
Queso Blanco


Instructions
- Heat the milk: Heat 1/2 gallon milk in a large pot over medium-low heat, stirring frequently, until it registers 165 to 180°F on a kitchen thermometer. Stir the milk frequently, scraping the bottom of the pot to make sure the milk doesn’t scald. When ready, the milk will look foamy and steamy.
- Add the Vinegar: Add the vinegar 1 tablespoon at a time, stirring gently after each addition. Stop adding the acid when the curds separate from the whey: you will see white clumps of curd suspended in a pale translucent whey.
- Let the milk stand for 10 minutes: Cover the milk and let stand for 10-20 minutes to give the acid time to completely separate the curds and whey. At the end of 20 minutes, the curds should be completely separated and the liquid should look yellow and watery. If the milk hasn’t separated, try adding another tablespoon of acid. If it still won’t separate, check your milk and be sure you are using whole milk that is NOT UHT milk; this kind of milk won’t separate.
- Strain the curds: Set a strainer or colander over a mixing bowl and line it with cheesecloth, a nut bag, or other straining cloth. Using a slotted spoon carefully scoop or pour the curds into the strainer, letting the whey collect in the bowl beneath. Allow the curds to drain for about 20 minutes.
- Squeeze the curds: Gather the cheesecloth in your hand and gently squeeze to remove the excess whey.
- Salt the curds: Open the cheesecloth and sprinkle 1/4 teaspoon of salt over the curds. Stir gently and taste. Add more salt if desired.
- Press the curds: Transfer the curds (still in the cheesecloth) to a large dinner plate. Shape them into a rough square and then fold the cheesecloth tightly around the curds to form a neat rectangular package. Set a second plate on top of the package and weigh it down. Press for at least 15 minutes or up to 1 hour.
- Use or refrigerate the queso blanco: Once pressed, your queso is finished and ready to use. You can use it immediately or refrigerate for up to two days. Refrigerated queso will be firmer and less likely to crumble.
On Your Blog
Take photos
- Of your refrigerated cheese that has been sliced to show the interior. Line up the paneer and the queso side by side, label them and take a photo of both.
Post a video in which…
- You taste test the paneer versus the queso. Both cheese are nearly identical in preparation but use different acids. Can you tell the difference?
- Describe what went really well during your cheesemaking
- What would you change if you repeated this process again.
Answer the following questions:
- What are curds and whey? Give a chemical explanation.
- What are the lemon juice and vinegar doing…exactly?
- When the curds separated…what chemical process was occurring?
References:
http://www.seriouseats.com/recipes/2014/11/queso-fresco-easy-cheese-recipe.html